Why? Professional Natural Stone Restoration
June 1, 2025
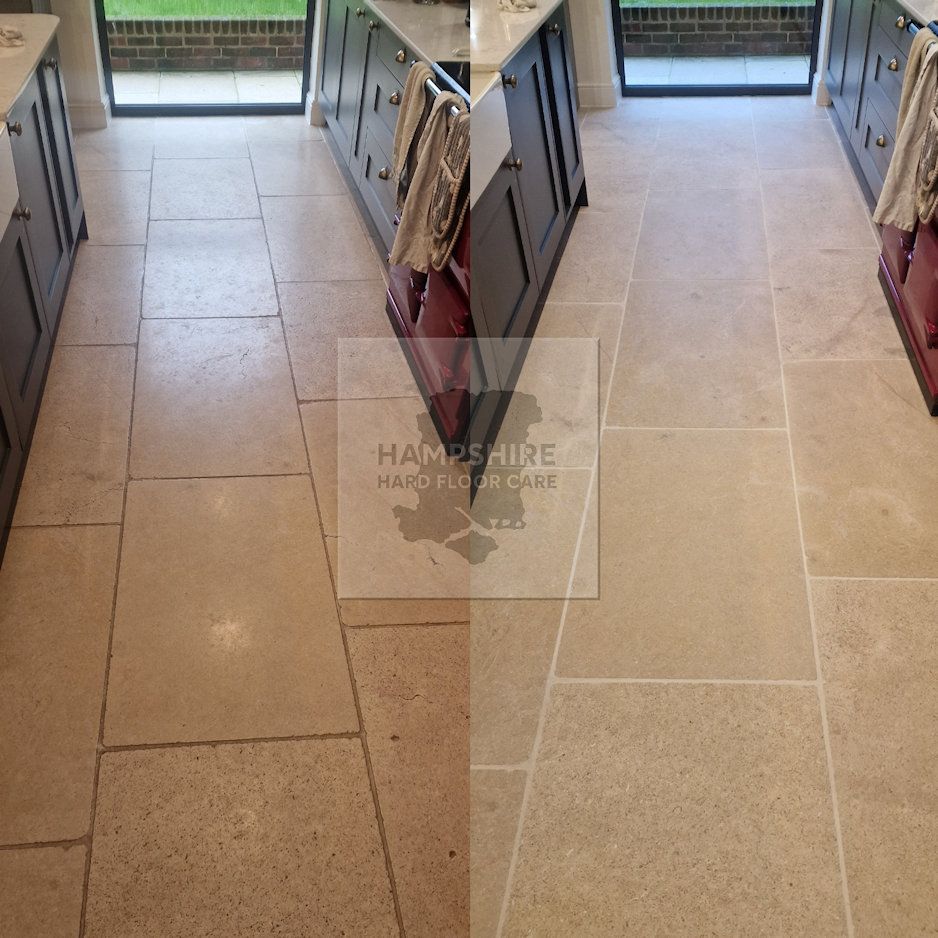
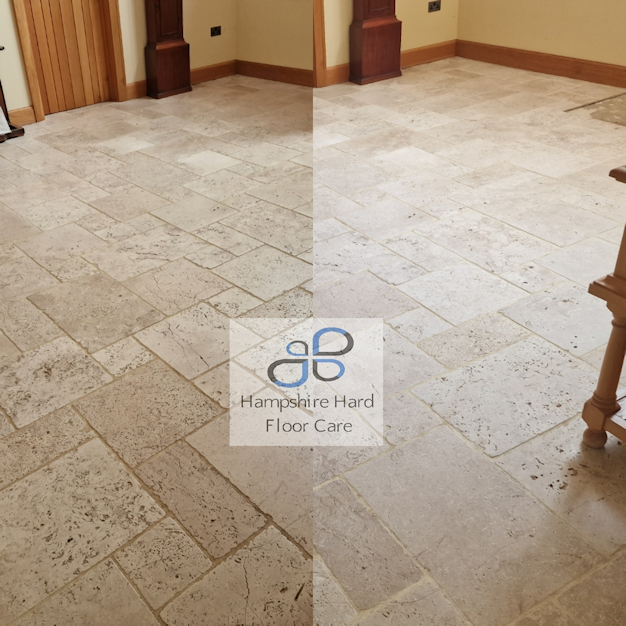
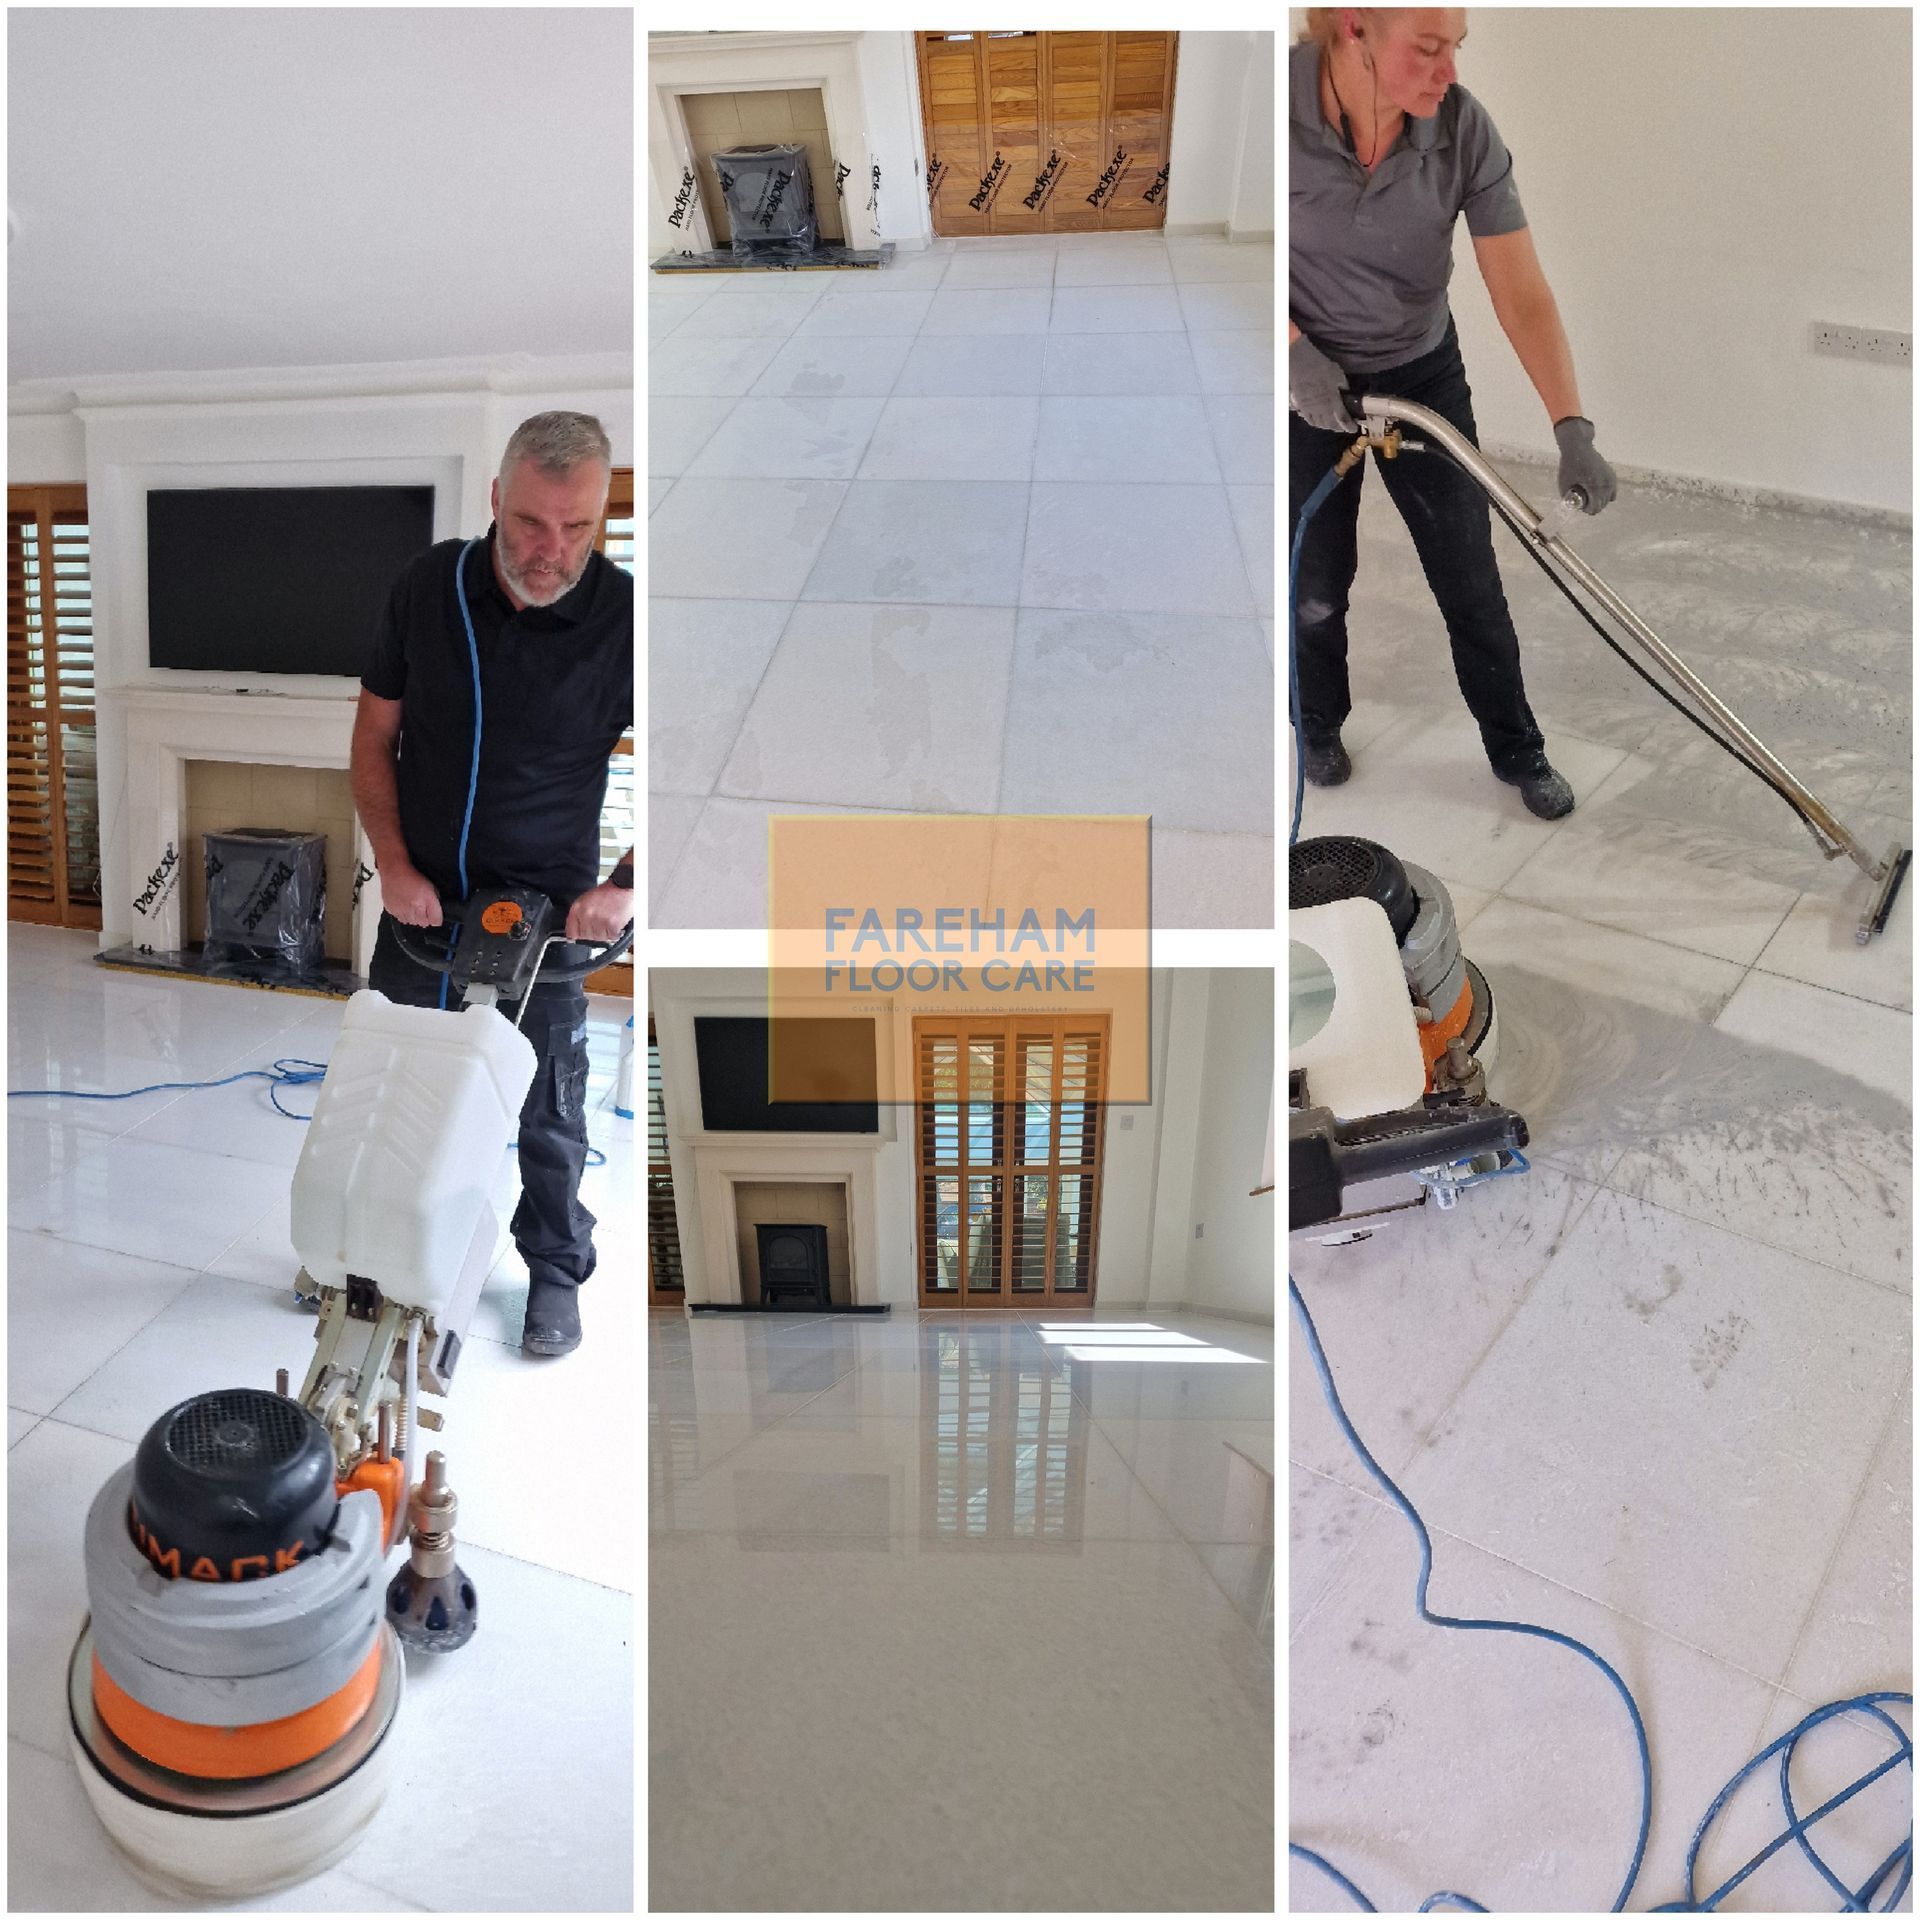
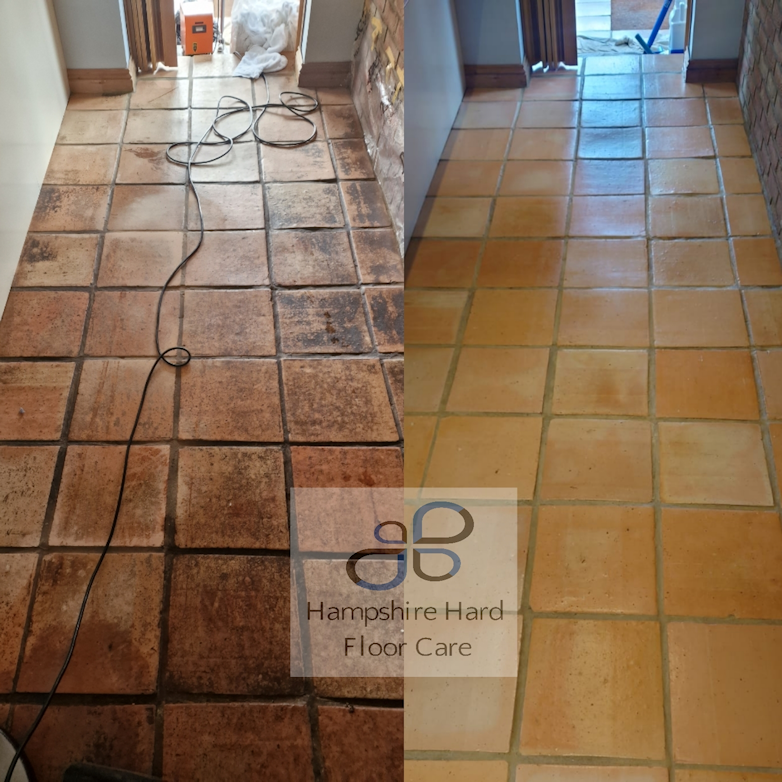
Natural stone restoration and conservation by Hampshire Hard Floor Care. Experts in mechanical grinding, etch removal, crack repair, and structural stone sealing.

Common Types of Damage in Natural Stone Surfaces
Natural stone, while highly durable, remains susceptible to various forms of damage—both superficial and structural. Understanding these failure modes is critical to selecting the appropriate restoration methodology. 1. Surface Staining Staining results from the ingress of foreign substances such as oils, tannins, iron oxide (rust), and mineral-laden water. Water-based staining typically manifests as diffuse white or grey hazing due to calcium or magnesium deposits. Rust stains are often localized and originate from oxidizing ferrous metals in contact with the stone.
2. Etching (Acid Reaction)
Chemical etching occurs when acidic substances (pH < 7)—like citric acid, vinegar, or certain cleaners—dissolve calcium carbonate-based stones such as marble, limestone, or travertine. Etching is characterized by loss of surface gloss and the formation of matte or hazy patches. Deep etching requires mechanical polishing to remediate.
3. Abrasive Surface Wear (Scratch Marks)
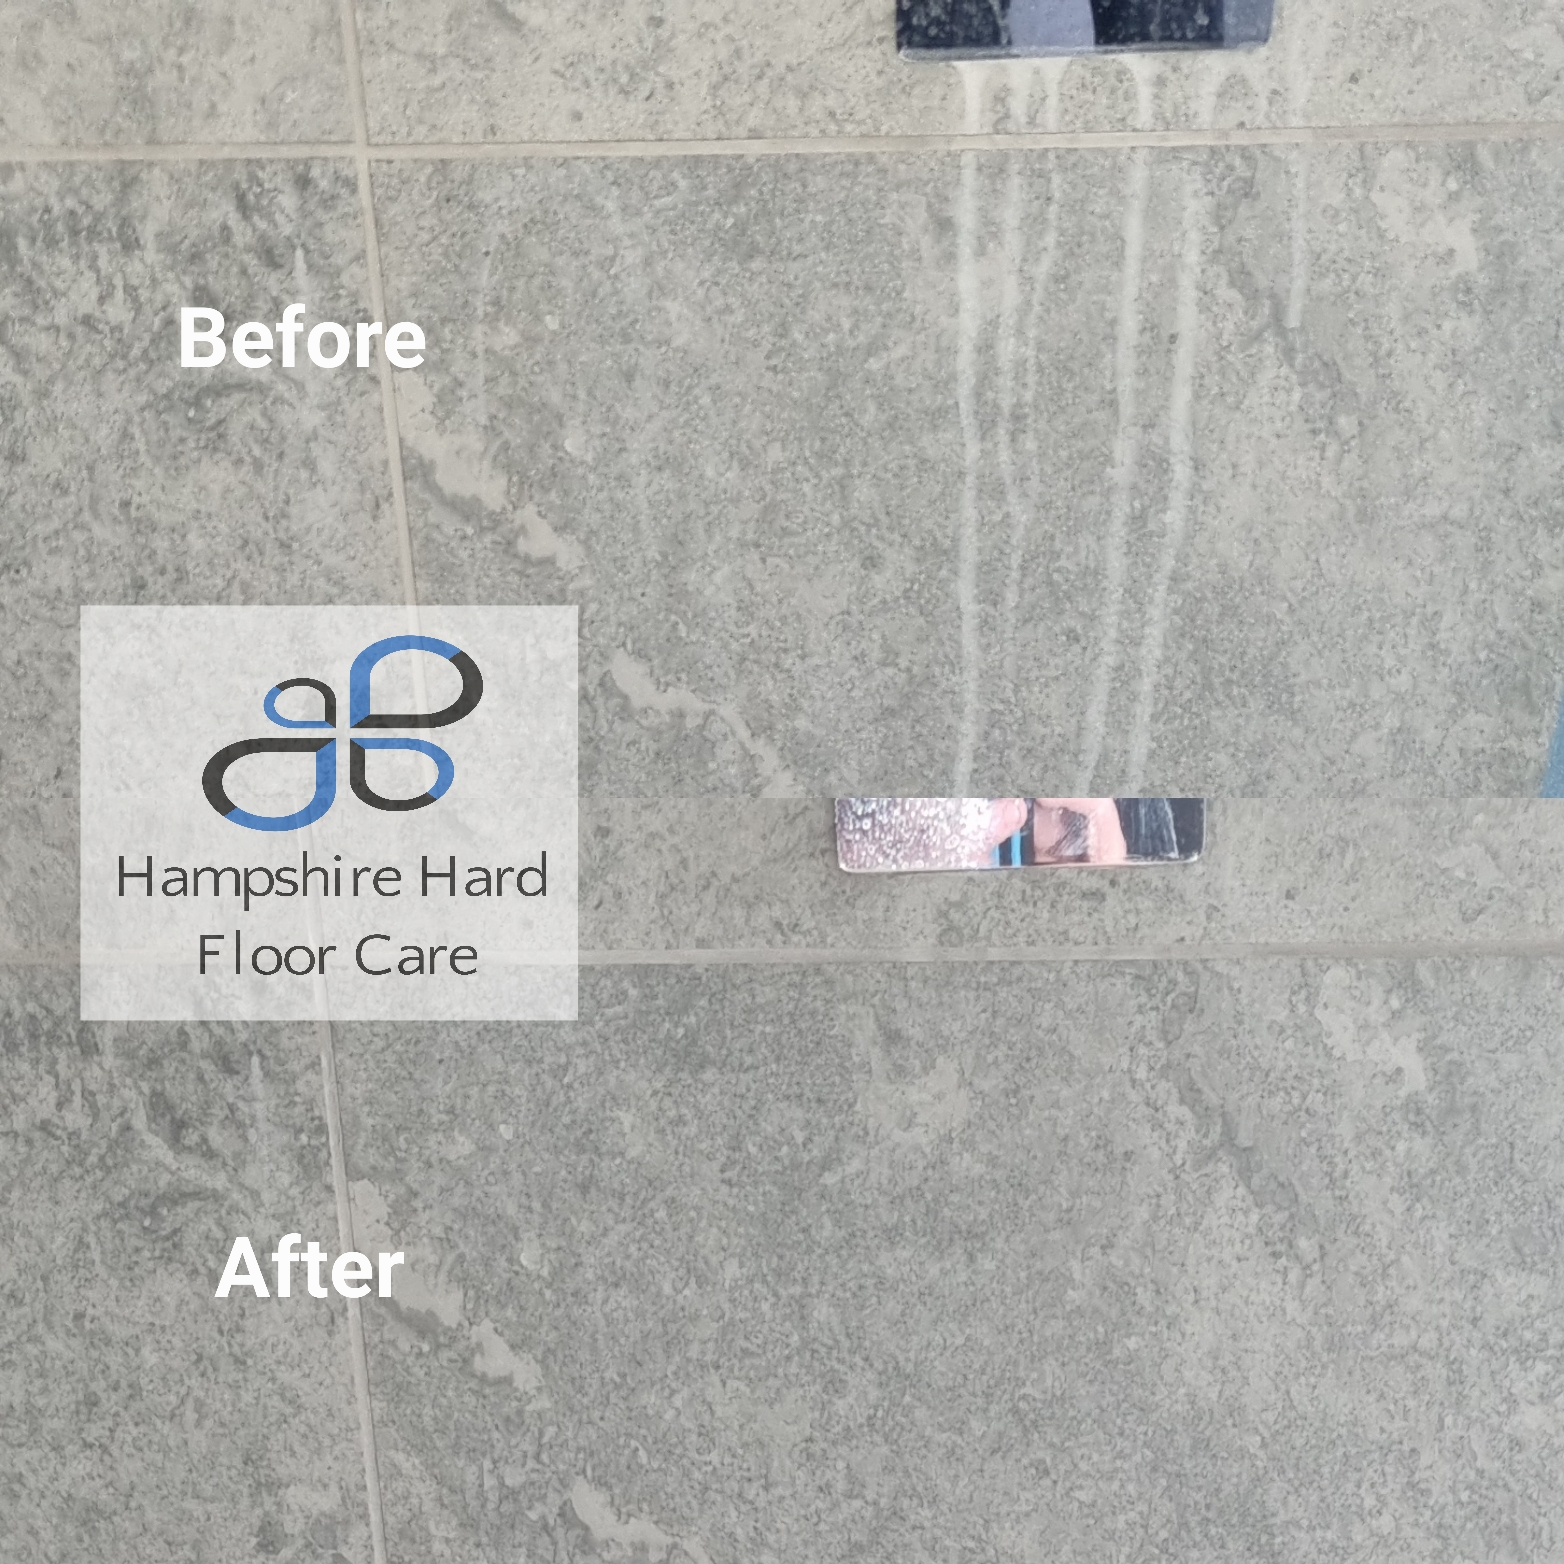
Surface abrasions typically result from friction with harder particulates such as silica (sand) or dragged furnishings. The Mohs hardness of the abrasive in relation to the stone dictates the extent of surface degradation. Repeated abrasion results in loss of polish and definition.
4. Cracking
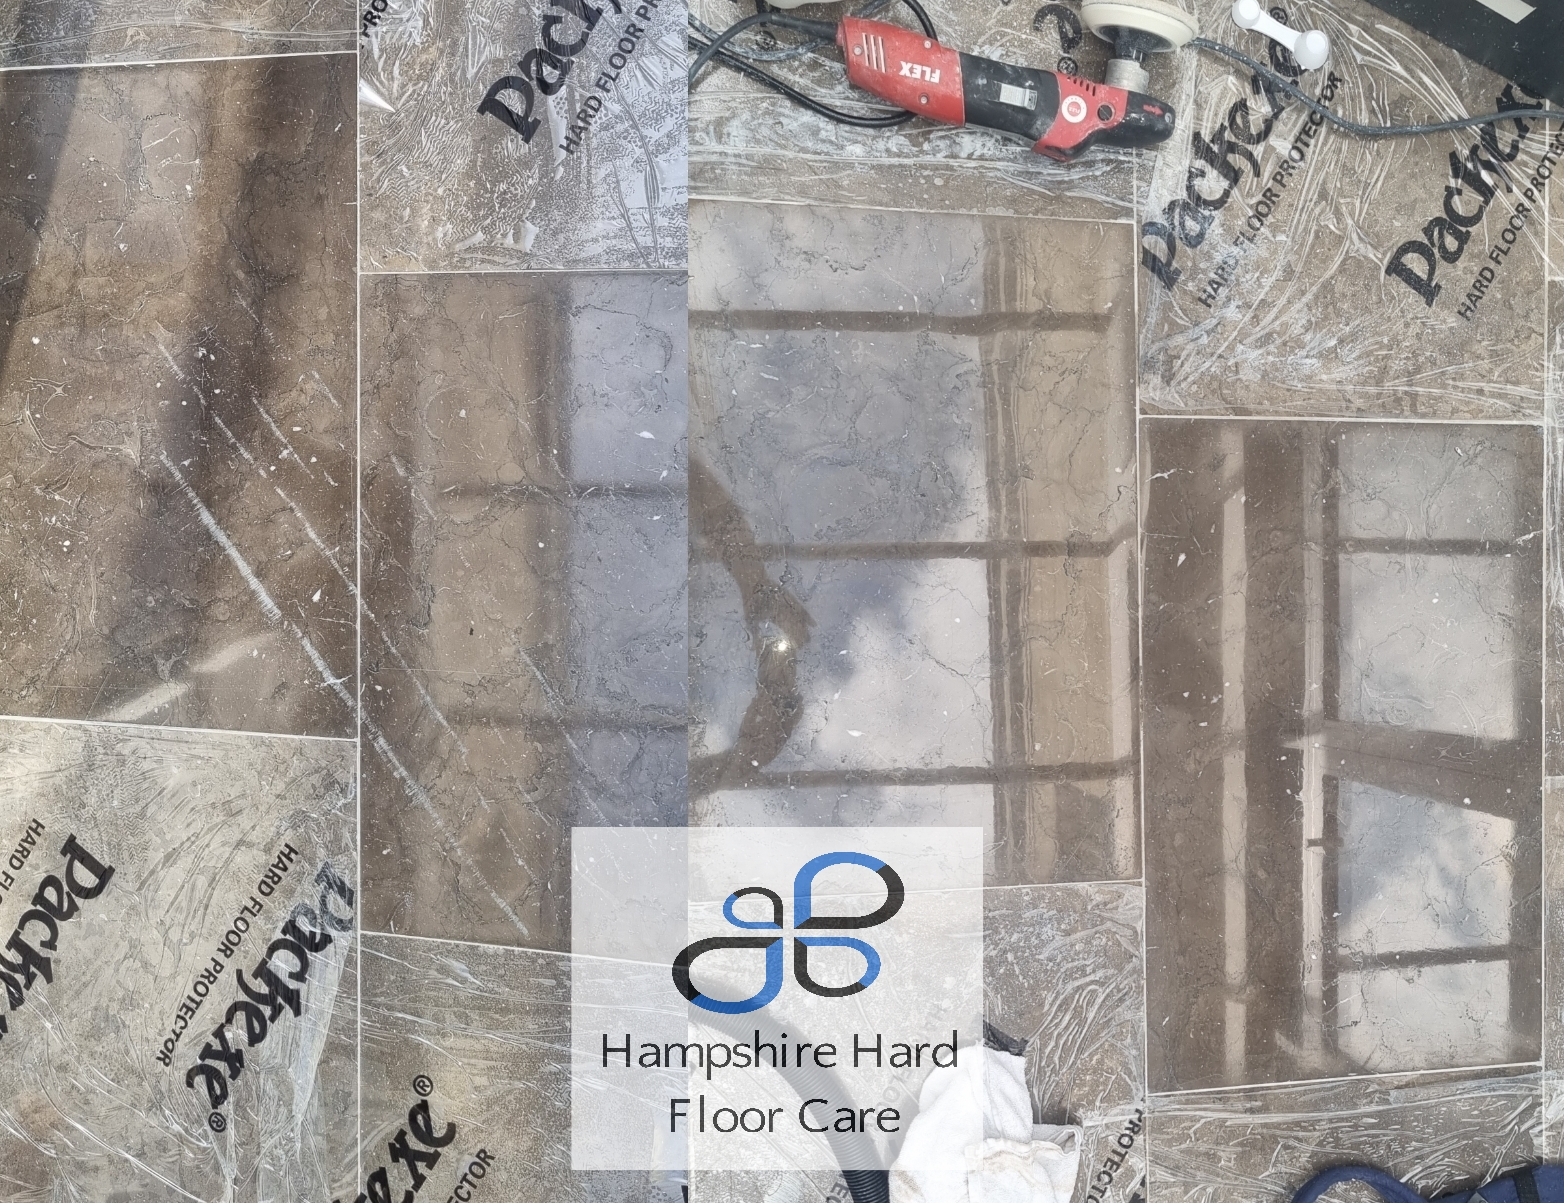
Cracks may form due to:
- Poor bedding or sub-base compaction
- Thermal expansion
- Mishandling
- Vegetative intrusion (e.g., root heave)
- Inadequate movement joints
5. Efflorescence
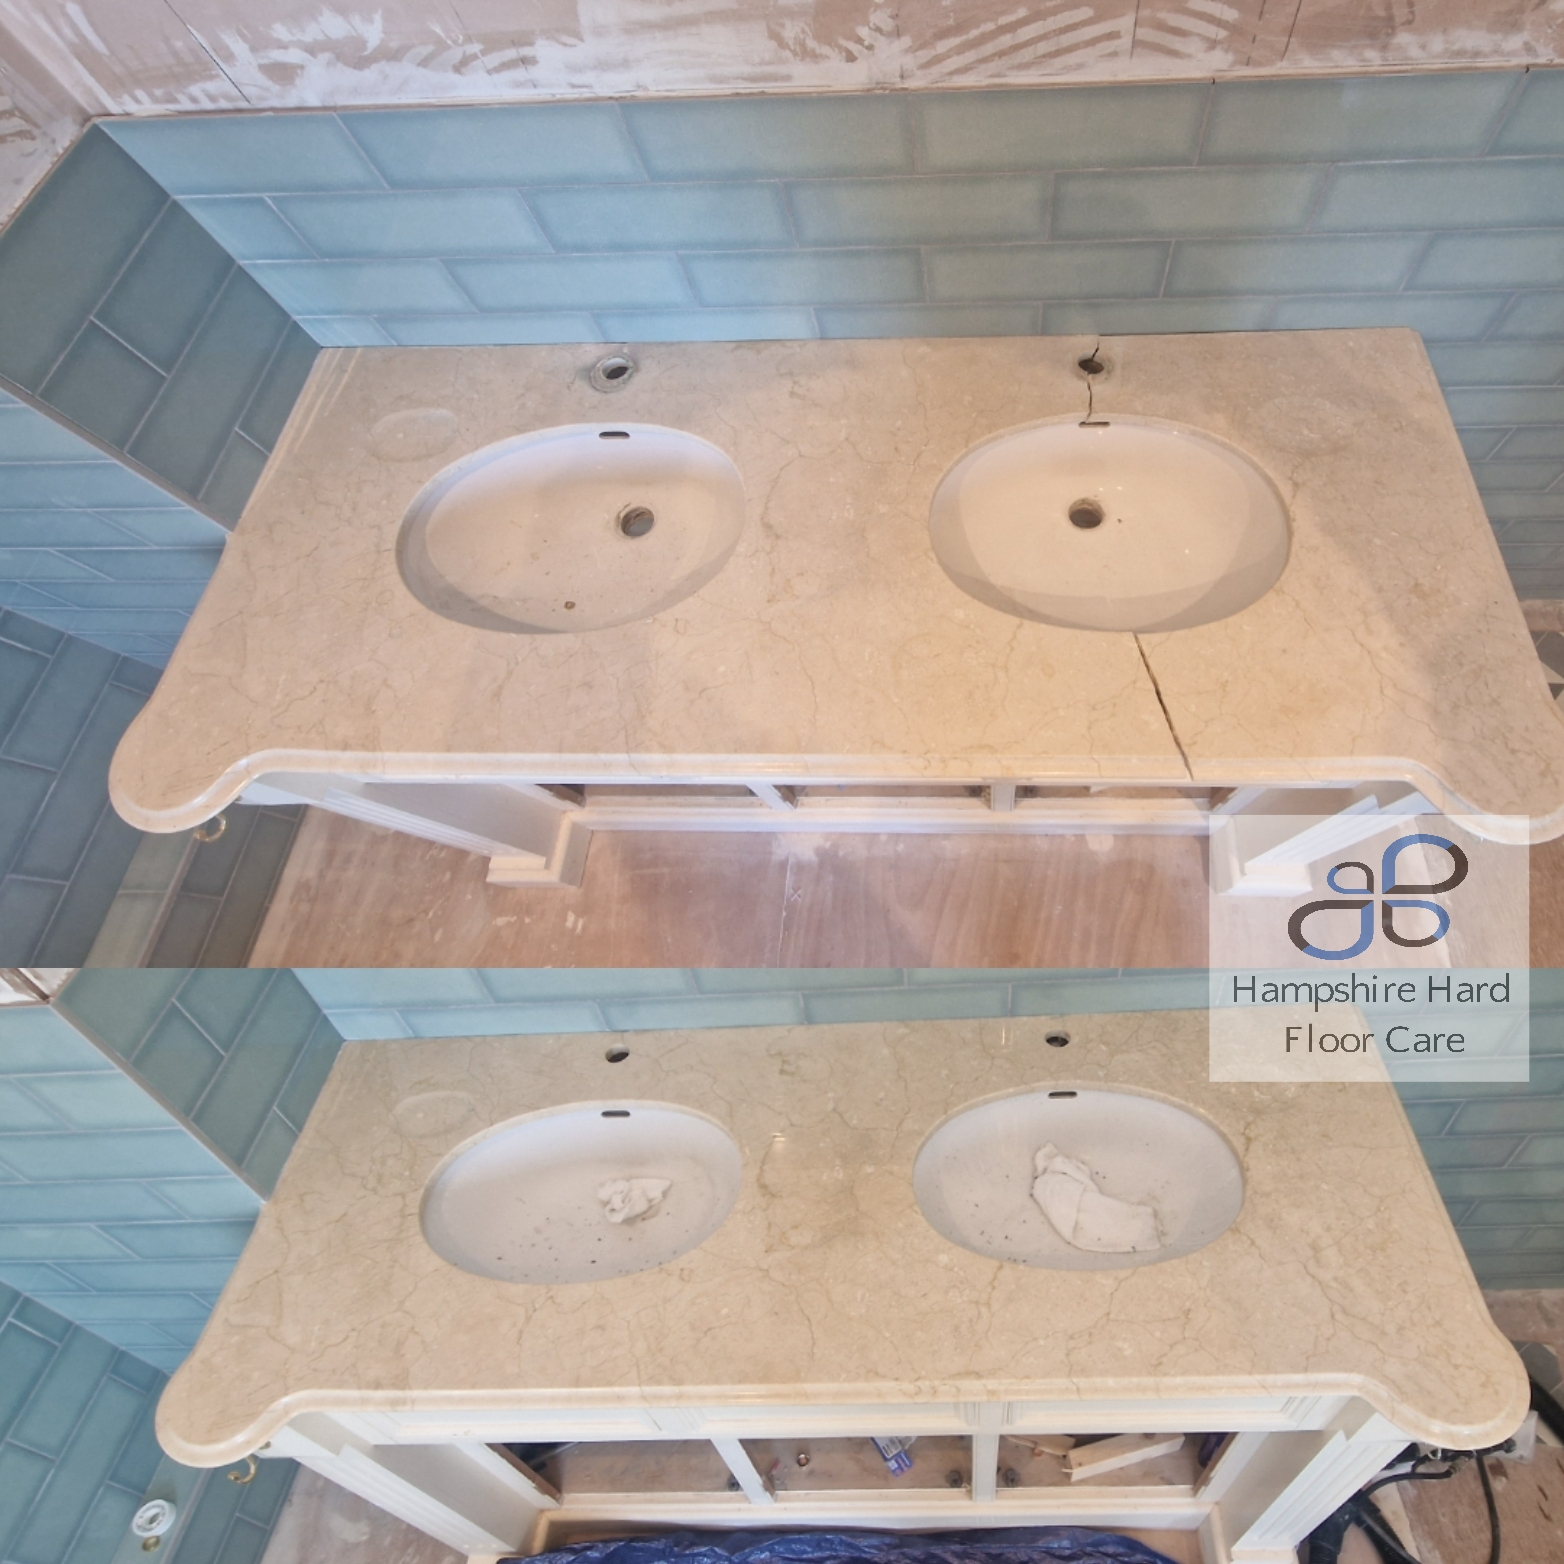
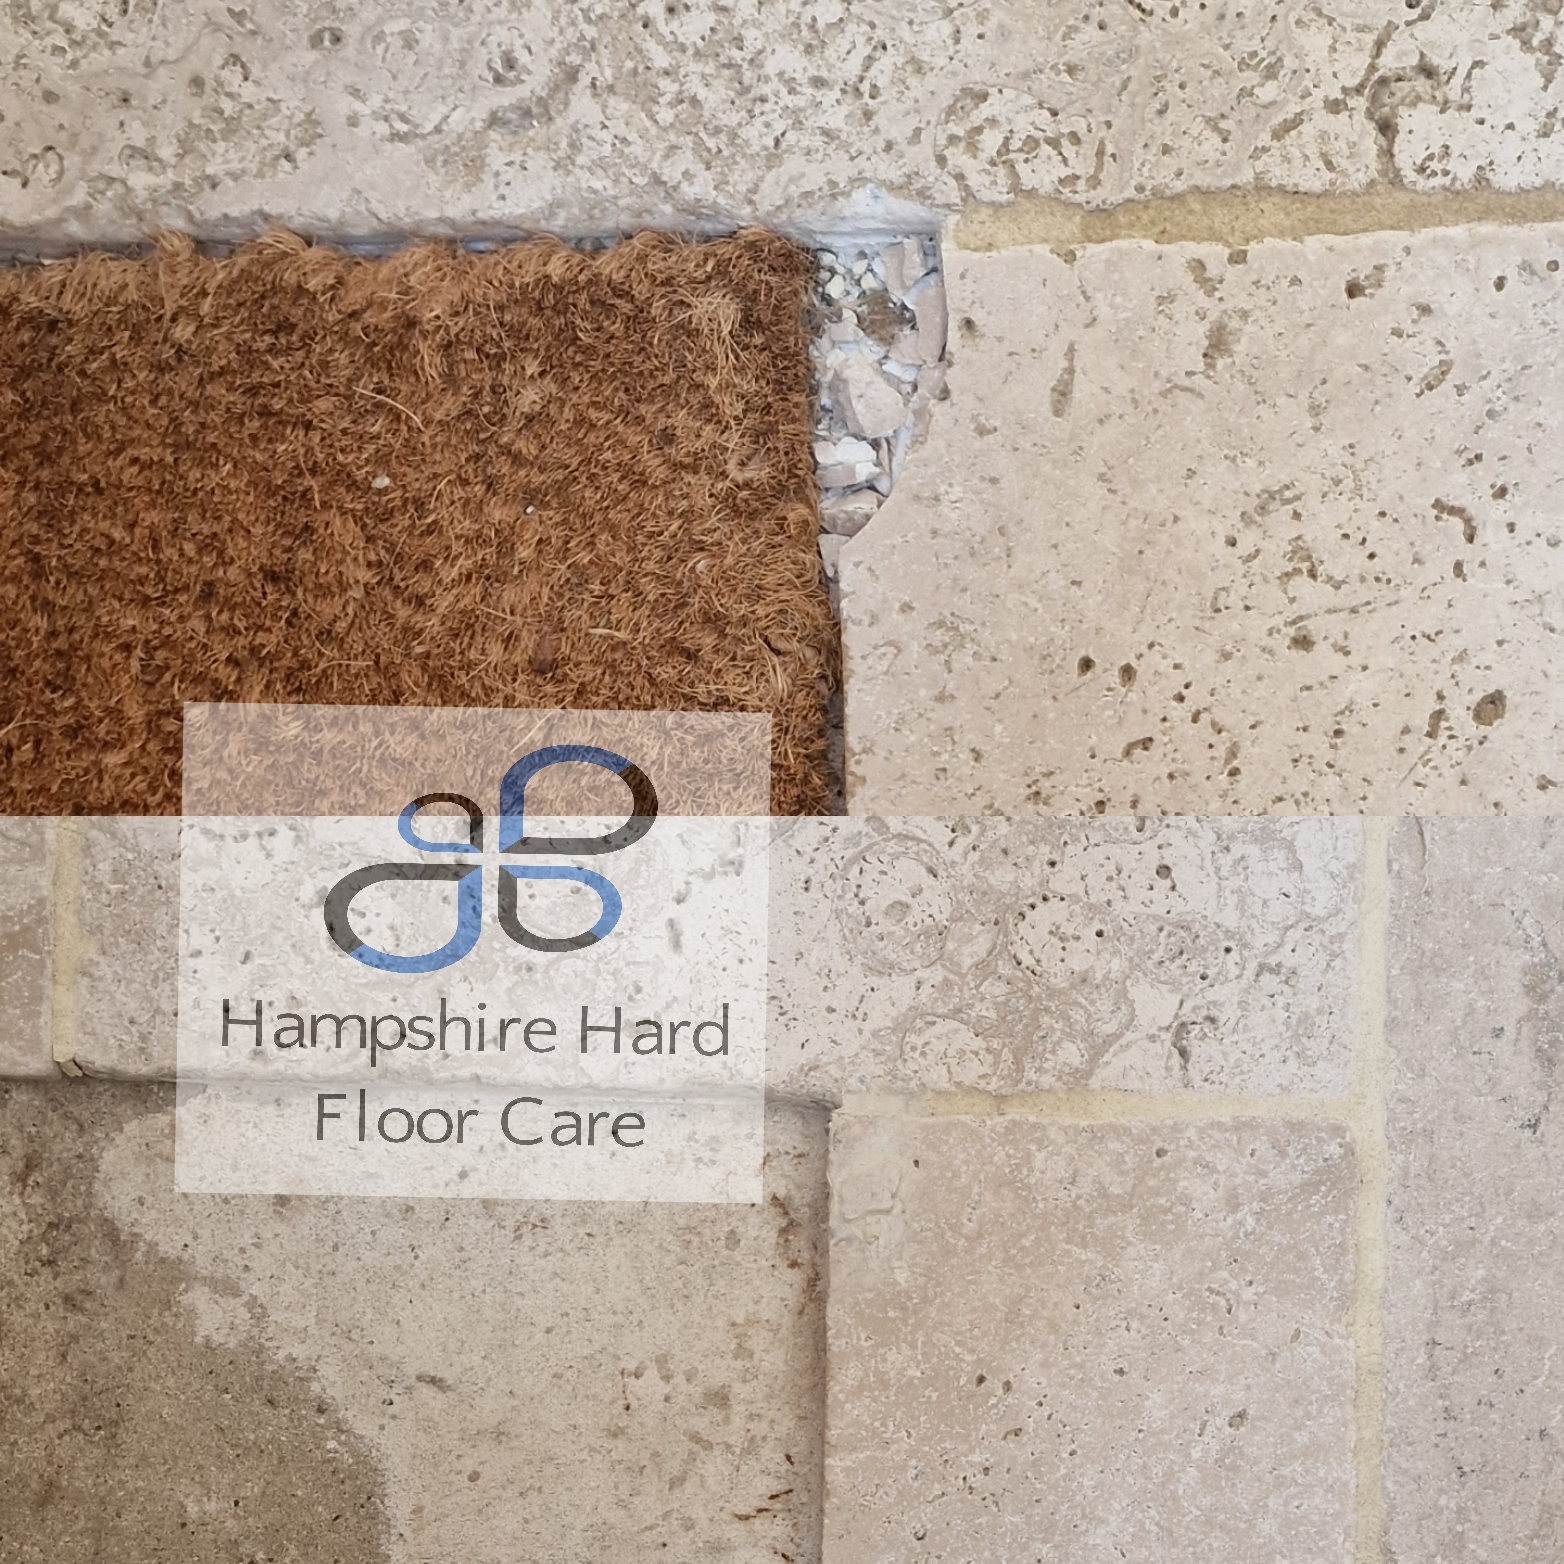
Efflorescence is a crystallized salt deposit forming on the surface as water evaporates. While primarily aesthetic, it can indicate underlying moisture migration. Repeated cycles can lead to sub-surface delamination or spalling over time if not mitigated.

Technical Restoration Protocol
Professional restoration is essential for achieving material integrity and aesthetic recovery. The following multi-stage protocol is standard:
1. Mechanical Grinding (Lippage Removal)
Utilizing industrial diamond abrasives, high-precision grinding removes planar irregularities and prepares the substrate for uniform refinishing. This is critical for bonding during repair of fissures or chip infills.
2. Re-honing
Application of micron-graded abrasive compounds in slurry form restores a consistent finish while eliminating surface micro-defects. This process is ideal for restoring satin or matte finishes in calcium-based stones.
3. Polishing
Utilizing progressively finer abrasives and polishing powders, this stage enhances gloss level and reactivates the stone’s natural optical depth. For calcite-based stones, oxalic acid polishing compounds may be used to chemically enhance surface reflectivity.
4. Sealing
Penetrating sealers (impregnators) or topical coatings are applied based on stone type and environmental exposure. Sealers reduce capillary absorption and chemical reactivity without occluding vapor transmission. Proper sealer selection is essential to avoid discoloration or surface film formation.
Post-Restoration Maintenance Routine Maintenance:
Selecting a Restoration Contractor: Technical Considerations When contracting a stone restoration service, assess the following:
Why Hampshire Hard Floor Care ? At Hampshire Hard Floor Care, we bring industry-leading techniques and material science insight to every project. Our technicians are trained in advanced stone care procedures, ensuring precise and long-lasting results. We specialize in:
Post-Restoration Maintenance Routine Maintenance:
- Use pH-neutral stone cleaners only
- Sweep or mop regularly to remove grit and prevent abrasive damage
- Flush outdoor installations with low-concentration biocide for algae/moss prevention
- Inspect for microcracks, sealant degradation, or structural displacement
- Schedule resealing based on stone porosity and usage frequency
- Address efflorescence promptly to prevent salt crystallization below the surface
Selecting a Restoration Contractor: Technical Considerations When contracting a stone restoration service, assess the following:
- Specialization : Verify experience with your specific stone type (e.g., metamorphic vs. sedimentary stones)
- Credentials : Request insurance certificates (public liability and worker’s compensation)
- Process Knowledge : Reputable firms will diagnose failure mechanisms, explain restoration options, and provide a detailed scope of works
- Restoration Philosophy : Ethical providers prioritize conservation over unnecessary replacement
- Equipment : Confirm use of commercial-grade HEPA-filtered grinders, wet polishing systems, and VOC-compliant sealers
Why Hampshire Hard Floor Care ? At Hampshire Hard Floor Care, we bring industry-leading techniques and material science insight to every project. Our technicians are trained in advanced stone care procedures, ensuring precise and long-lasting results. We specialize in:
- Floor and wall cladding restoration
- Etch and stain removal
- Crack and chip repair
- Architectural stone preservation
Recent Posts

July 13, 2025
Maintaining the pristine appearance of a travertine floor can elevate the overall look of your home, but dealing with unsightly holes can feel daunting. Many homeowners in Hampshire face this common challenge and are eager to find effective solutions for Travertine hole filled Hampshire. Understanding the intricacies of Travertine Floor Cleaning Hampshire is essential Understanding Travertine Floors Travertine floors are a popular choice for homeowners seeking elegance and durability. Before we dive into repair techniques, let's explore what travertine is, common issues you might encounter, and why regular maintenance is crucial. What is Travertine? Travertine is a natural stone formed by mineral deposits from hot springs. It's known for its unique, pitted surface and warm, earthy tones.This limestone-based material has been used in construction for centuries, dating back to ancient Roman architecture. Today, it's a popular choice for flooring, especially in bathrooms and outdoor spaces. Travertine comes in various finishes, from polished to tumbled, each offering a distinct look and feel. Its natural variations in colour and pattern make each travertine floor unique. Common Issues with Travertine Travertine, while beautiful, is not without its challenges. Understanding these issues can help you maintain your floor effectively.One of the most common problems is the formation of holes or pits. These can occur naturally or develop over time due to wear and tear. Scratches and etching are also frequent issues, especially in high-traffic areas.Staining is another concern, as travertine is porous and can absorb liquids if not properly sealed. Acidic substances, in particular, can cause etching and discoloration.Lastly, improper cleaning methods can damage the surface, leading to a dull appearance or even more severe issues over time. Benefits of Regular Maintenance Regular maintenance of your travertine floor is not just about aesthetics; it's about preserving your investment and extending the life of your flooring.Consistent care helps prevent the build-up of dirt and grime, which can lead to scratching and dulling of the surface. It also allows you to catch and address minor issues before they become major problems.Proper sealing, a key part of maintenance, protects against stains and makes cleaning easier. Regular upkeep also helps maintain the natural beauty of the stone, ensuring your floor continues to enhance your home's appeal for years to come. Preparing for Repair Before you start filling holes in your travertine floor, proper preparation is key. This section will guide you through gathering the necessary tools, cleaning the area, and taking important precautions. Gathering Necessary Tools To repair holes in your travertine floor effectively, you'll need to assemble the right tools and materials. This preparation ensures a smooth repair process. Start with a travertine repair kit , which typically includes epoxy filler and color-matching pigments. You'll also need a putty knife or small trowel for application.Don't forget safety gear like gloves and eye protection. A vacuum cleaner, soft cloths, and a mild stone cleaner will be necessary for preparing the area.Lastly, gather fine-grit sandpaper and a polishing pad to finish the repair seamlessly. Cleaning the Area A clean surface is crucial for a successful repair. Follow these steps to prepare the area: Vacuum the floor thoroughly to remove loose debris. Wipe the area with a damp cloth using a pH-neutral stone cleaner. Allow the surface to dry completely before proceeding. Proper cleaning ensures better adhesion of the filler and a more seamless repair. It also helps you identify any additional damage that might need attention. Precautions to Take Safety and caution are paramount when repairing travertine floors. Here are some important precautions:Always work in a well-ventilated area, as some repair products may have strong odours. Wear gloves to protect your hands from chemicals and sharp edges.Test any cleaning or repair products on an inconspicuous area first to ensure they won't damage or discolour your travertine. Read and follow all manufacturer instructions carefully.If you're unsure about any step in the process, don't hesitate to consult a professional. Improper repairs can sometimes cause more harm than good. Filling Holes in Travertine Now that you're prepared, it's time to tackle those unsightly holes in your travertine floor. This section will guide you through selecting the right filler, the step-by-step filling process, and how to properly dry and finish your repair. Choosing the Right Filler Selecting the appropriate filler is crucial for a successful travertine repair. The right choice will ensure a durable and visually appealing result. Epoxy-based fillers are often recommended for travertine due to their strength and ability to match the stone's colour. Color-matching kits can help you achieve a near-perfect match to your specific travertine shade. Consider the size of the holes you're filling. Larger holes may require a different product than smaller pits. Always opt for fillers specifically designed for natural stone to ensure compatibility with travertine. Step-by-Step Filling Process Follow these steps to fill holes in your travertine floor: Clean the hole thoroughly, removing any loose debris. Mix the filler according to the manufacturer's instructions. Apply the filler using a putty knife, slightly overfilling the hole. Smooth the surface, ensuring it's level with the surrounding area. Remove any excess filler immediately with a damp cloth. Work carefully but quickly, as some fillers set rapidly. For larger holes, you may need to apply the filler in layers, allowing each to dry before adding the next. Drying and Finishing Proper drying and finishing are essential for a seamless repair. Here's how to complete the process:Allow the filler to dry completely according to the product instructions. This can take anywhere from a few hours to overnight.Once dry, sand the filled area gently with fine-grit sandpaper to achieve a smooth, even surface. Be careful not to sand the surrounding travertine. Finally, polish the repaired area to match the sheen of your floor. You may need to apply a sealer to protect the repair and ensure it blends seamlessly with the rest of the floor. Aftercare Tips After successfully filling holes in your travertine floor, proper aftercare is essential to maintain its beauty and prevent future damage. This section covers routine cleaning, damage prevention, and when to seek professional help. Routine Travertine Floor Cleaning Hampshire Regular cleaning is key to maintaining the beauty of your travertine floor. Here are some tips for effective cleaning :Use a soft-bristled broom or vacuum with a soft attachment to remove loose dirt daily. For deeper cleaning, use a pH-neutral cleaner specifically designed for natural stone.Avoid acidic or abrasive cleaners, which can damage the travertine. Always clean spills immediately to prevent staining or etching.Consider professional cleaning services periodically to maintain your floor's pristine condition and extend its lifespan. Preventing Future Damage Prevention is always better than cure when it comes to travertine floors. Here are some preventive measures:Place mats at entrances to trap dirt and grit that can scratch the surface. Use felt pads under furniture legs to prevent scratches when moving items.Seal your travertine floor regularly to protect against stains and moisture. The frequency depends on the type of sealer used and the amount of traffic your floor receives.Be cautious with sharp objects and avoid dropping heavy items that could chip or crack the travertine. When to Seek Professional Help While many travertine repairs can be DIY projects, some situations call for professional expertise:If you notice widespread damage, deep cracks, or structural issues, it's time to call in the experts. Professional help is also advisable for large-scale repairs or if you're unsure about matching colours correctly.Consider professional assistance if you're dealing with stubborn stains or if your floor needs re-polishing. Experts have access to specialised tools and products that can restore your travertine to its original glory.

